(Mac) 001 - Setting Up MacOS Build For Game Development in C
Table of Contents
This post is the macOS version of the Setting Up Windows Build For Game Development in C.
I will share the steps that I used to set up my MacOS for build and starts game development.
Terminal
The common steps for writing everything from scratch are to be comfortable with your tools, especially the command line.
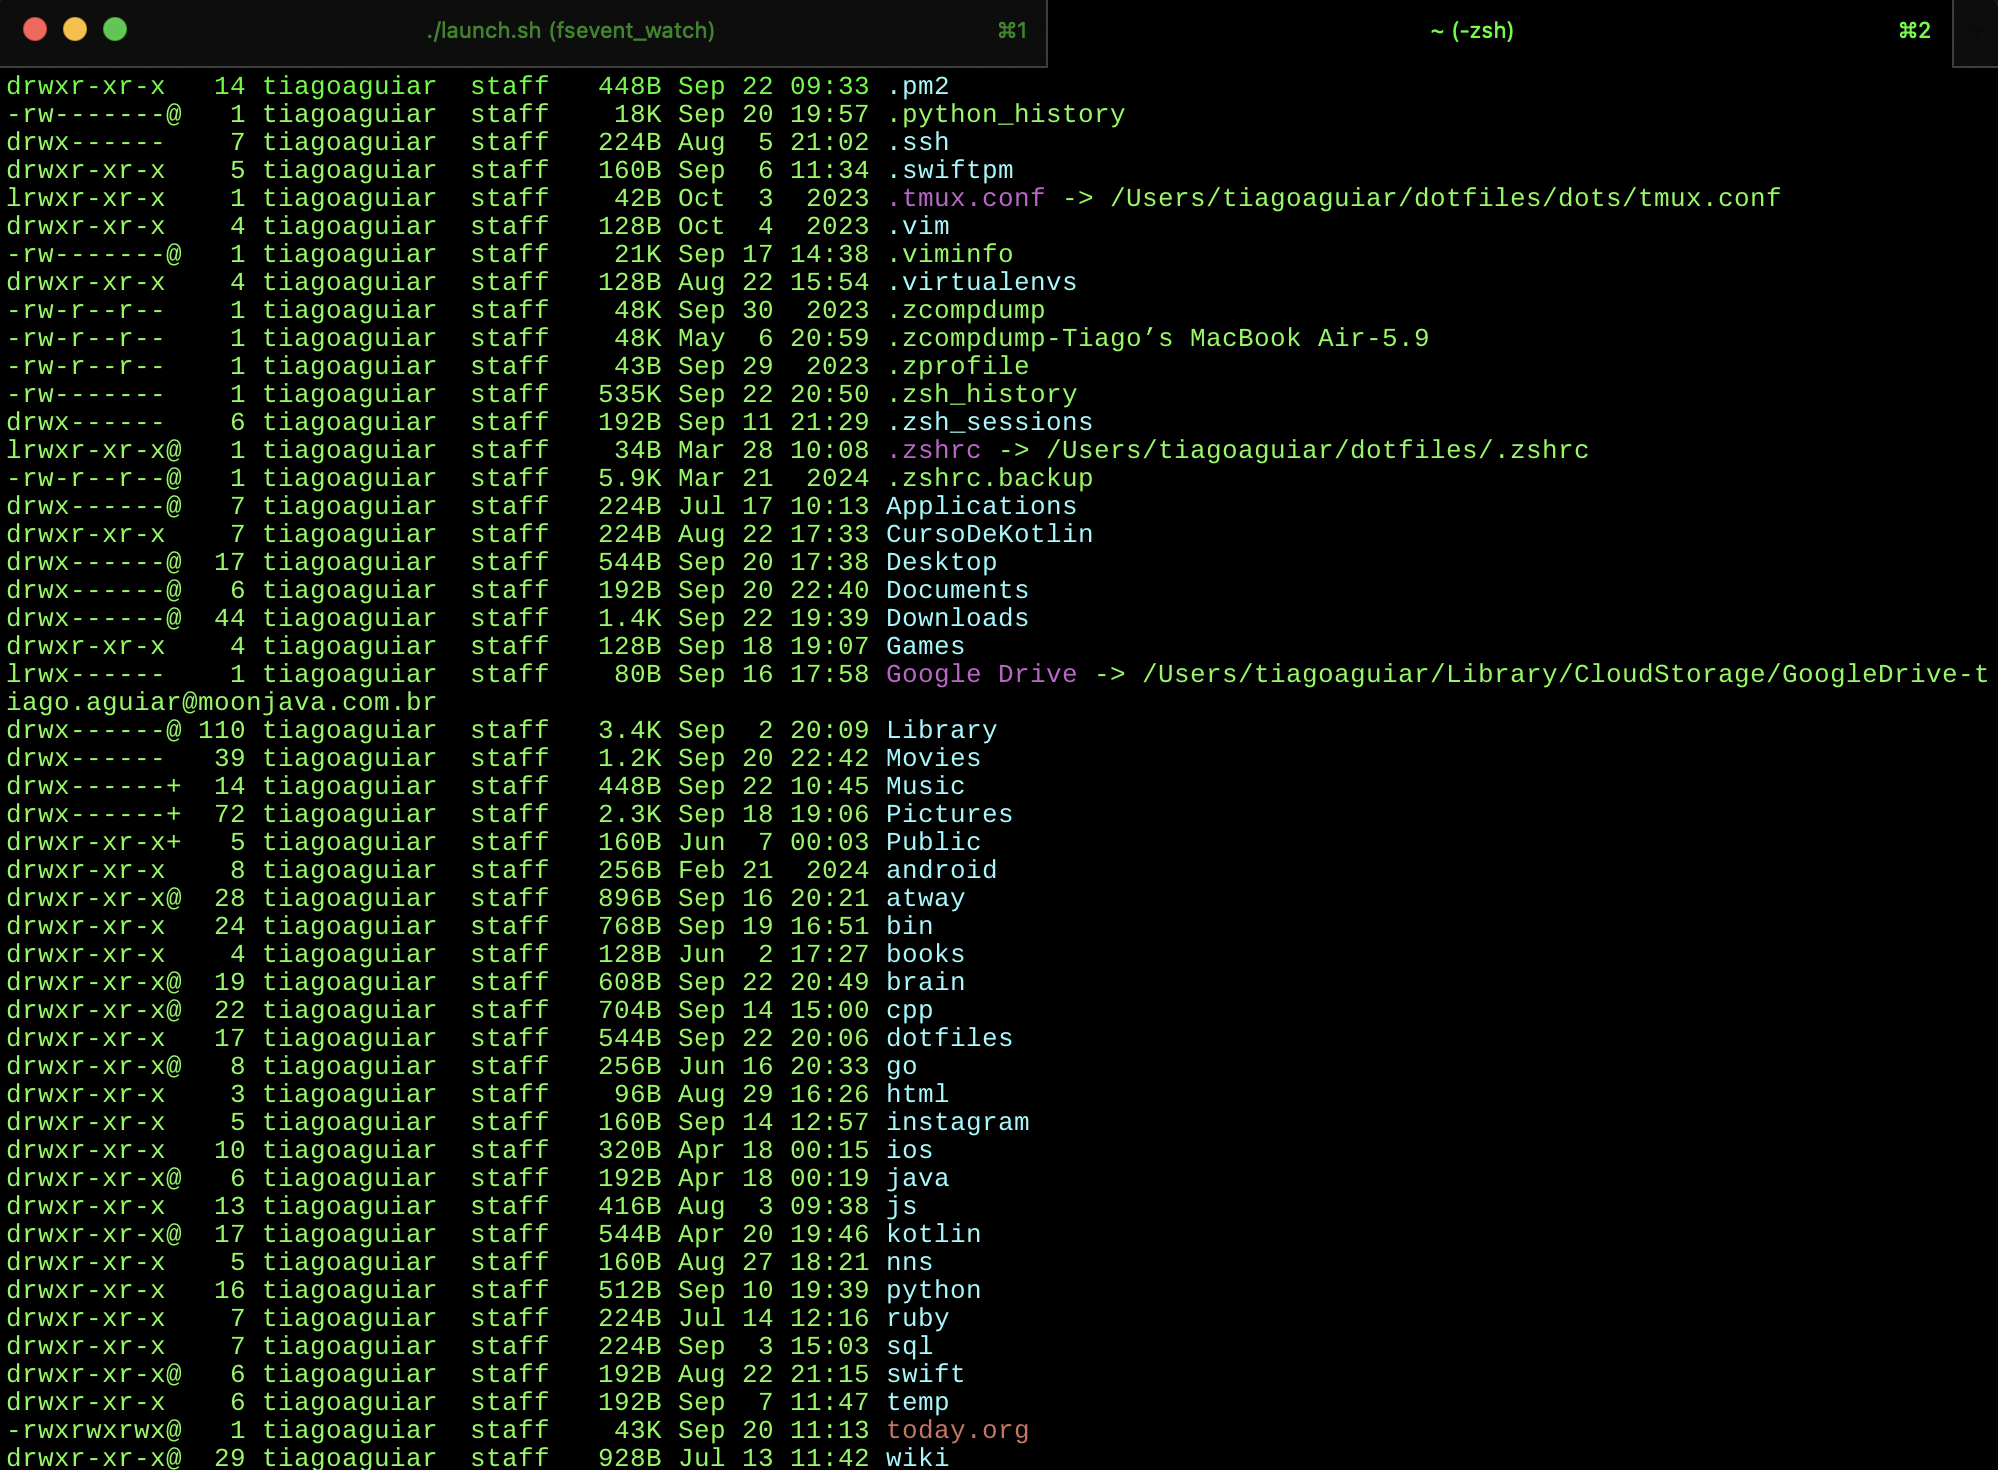
You should configure the fonts, colors, and the window where you spend most of your time.
I installed the iTerm2 app, this is the modern and best terminal that I know for macOS.
For that, I use the homebrew style with the bright green color like a retro terminal. I love it.
By the way, I created a theme with some colors that I use in Emacs and Jetbrains' IDE as well. I call it the Terminator Theme.

Let's get back to the game-related stuff.
Compiler
To start writing a game we need a compiler. There are many compilers that compile C code into binary executables. In this project we'll use the clang.
You must download and install the Xcode to get the Clang compiler and enable it on terminal.
Coding With Emacs
Emacs was created in 1976 by Richard Stallman and maybe you're thinking: "Oh man, this is an old editor!".
But it works for me!
I personally always used Vim since my first year as programmer, even during my internship, my boss required me to code and navigate quickly in any editor.
I met Emacs in HandmadeHero and I loved it.
I configured it a lot, spending many hours (nerd alert), and now it has become my favorite editor ever. I like to combine Emacs with Evil Mode to simulate Vim Key bindings inside Emacs.
I've installed Emacs on MacOS and follow the next steps to work properly. The version that I download was emacs-29.1 - 2023-08-16.
I put my .emacs file in HOME folder ~/, so the Emacs looks to the ~/ by default as the location of .emacs file.
You can find my version of .emacs file and .emacs.d folder in my dotfiles. It includes themes, snippets, scripts and more. Check it out.
Writing First Program And Build
Create the src folder inside root directory of project with the name mac_myproject.cpp and build.sh files.
build.sh
You only need the shell file to compile the program.
You can disregard tools like cmake, make and other build tools. Instead, write a simple shell file in myproject/src/build.sh.
Inside the shell file I added a compiler flag for debugger -g and make a new directory build to ouptut the executables.
#!/bin/bash
mkdir -p ../build
pushd ../build
clang -g -o myproject ../src/mac_myproject.cpp
popd
- mkdir -p: Create a new directory if not exists;
- pushd/popd: Navigate and persist at history as stack;
- clang: Compiler;
- -g: The debugger flag;
- -o: Output file name;
While coding, you can compile directly using my Emacs configuration with shortcut M-x m or call the sh build.sh script from terminal.
Main File
Create the entry-point at mac_myproject.cpp with main and use the printf to test the Hello World.
// mac_myproject.cpp
#include <stdio.h>
int main(int argc, char **argv) {
    printf("Hello World\n");
}
Run the Program and Debugging
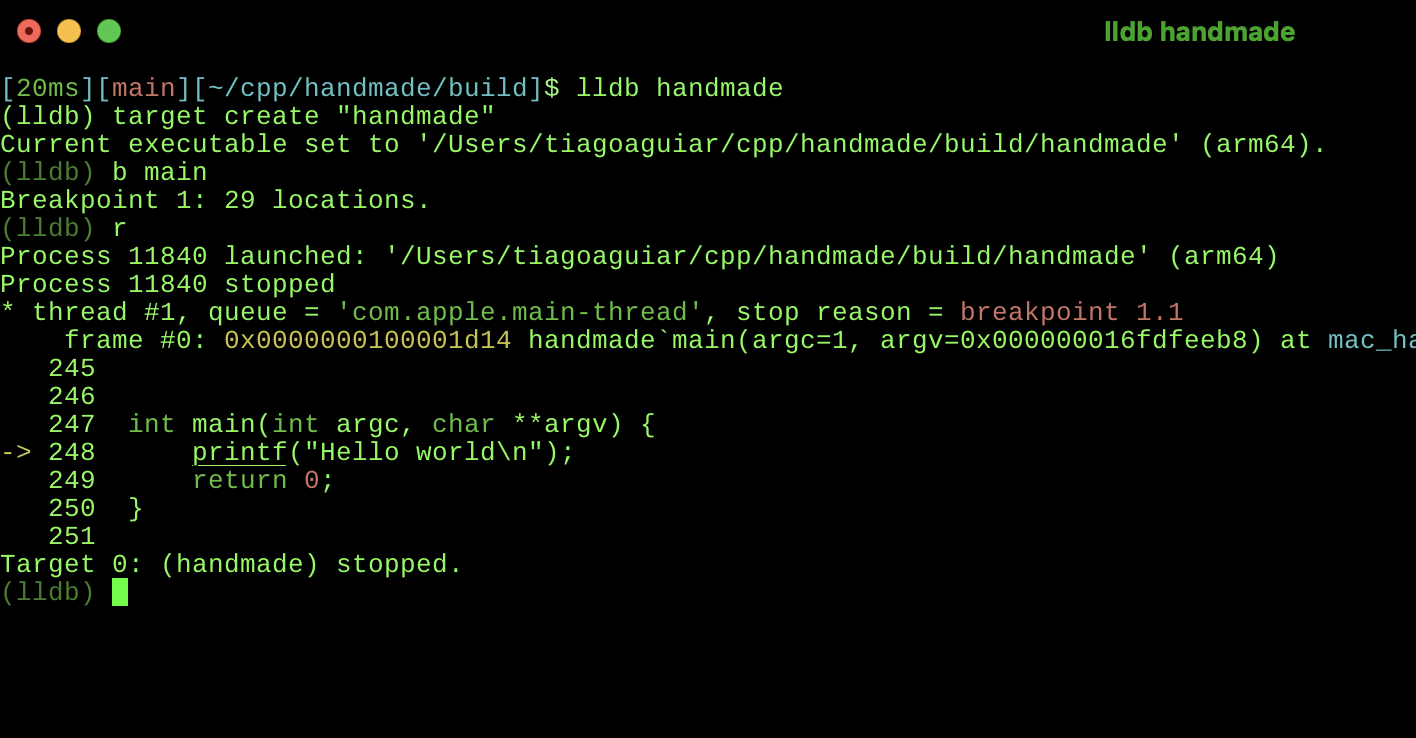
You can run the executable from terminal ../build/myproject or using the lldb for debugging purpose (you can also use the Xcode as debugger).
Because we compile our program with debug flags, the lldb recognizes it.
Navigate to the build folder and start the lldb:
lldb myproject
Now, set the breakpoint based on line number of file. For example, line 4:
b mac_myproject.cpp:4
It's possible to pass the function name to set a breakpoint:
b main
The letter b means breakpoint.

After that, type r and enter to start the program.
When program hit the line, you'll see a piece of code. To go to next line, use the n key. To go to into step, use s key.
To leave the breakpoint use the c key.
With bt you can see the backtrace (stack) of your program. This is helpful to figure out bugs.
The q key or Control + D stop the lldb and go out.
Create a folder at root called data. This folder is useful when running the game in the future with relative path.
Conclusion
The article appears big, but it isn't in fact. When you follow step by step, you'll notice that is so simple and productivity and your workflow is much faster (double click at shortcut command prompt, type emacs, hit ENTER, write code, compile, debug with devenv, that's it).
The final structure is very simple.
myproject
├── data
└── src
    ├── build.sh
    └── mac_myproject.cpp
My Quick Access
- Install Xcode
- Install iTerm2
- Install Emacs and configure
.emacsin home directory - Configure the terminal with fonts and colors
- Write the main file with entry-point
mainand a 'Hello World' by printf - Write
build.shcode to compile the program - Test debugging with
lldb - Configure the
datafolder for future working directory